General SSO instructions
Connect your SAML-based SSO provider to WonderProxy
Introduction
Single Sign-On is a login system that uses your company identity to authenticate at third-party services. If you use SSO, you don't need to manage multiple sets of usernames and passwords for all your services, and team administrators can manage their team members in one place.
SAML is a standard protocol that enables SSO. WonderProxy is a SAML 2.0 Service Provider, and we can accept logins from SAML 2.0 Identity Providers (like GSuite, Microsoft Azure AD, Okta, Ping Identity, and others). If your company has a SAML 2.0 Identity Provider, you can use it to login at wonderproxy.com.
Configure Your Identity Provider
You can follow the general instructions from this step or use one of the customised integrations for the following Identity Providers:
Your Identity Provider and WonderProxy need to trust each other before they can be connected. Visit your WonderProxy SSO settings to download the SAML metadata for wonderproxy.com:
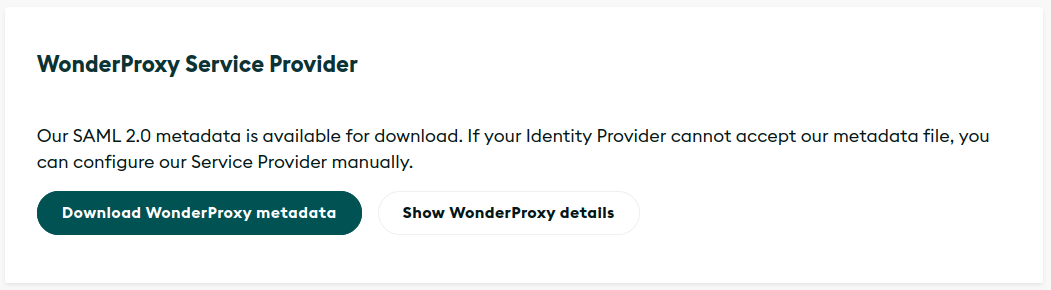
Upload the file to your Identity Provider.
If you can't upload our metadata file, click the Show WonderProxy details button and fill in the information manually.
Configure Your WonderProxy Account
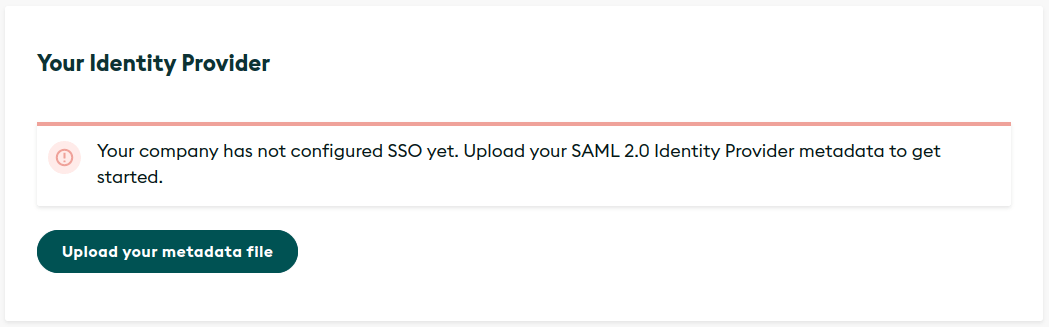
Upload SAML metadata
Your Identity Provider will also have a metadata file that you can download. If you're not sure where it is, consult your provider's documentation, or drop us a message. Once you have the file, upload it to your WonderProxy SSO settings:
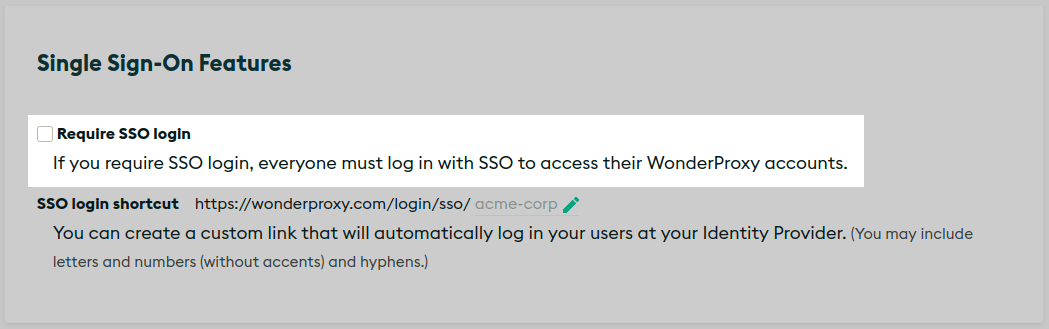
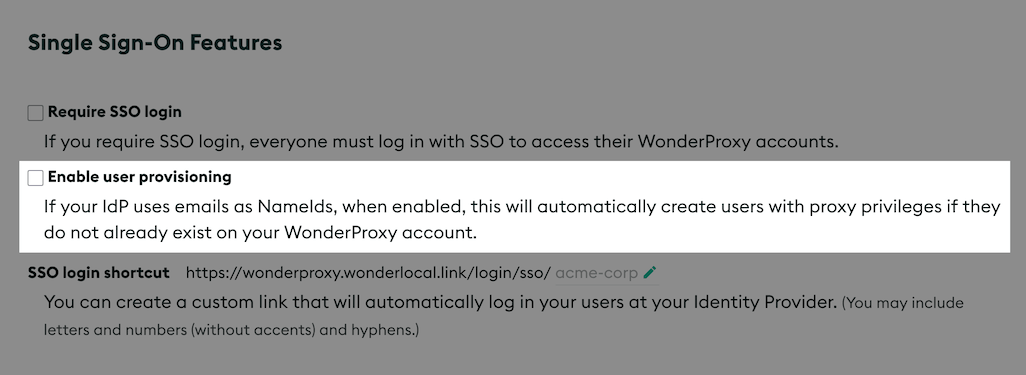
Require SSO login (Optional)
You can require SSO login for WonderProxy account access, so WonderProxy usernames and passwords will not work at wonderproxy.com:
Enable user provisioning (Optional)
Given that your Identity Provider uses emails as NameIDs in your integration with WonderProxy, enabling this feature will automatically create an account with proxy privileges for any user signing in via SSO—if they don’t already have one.
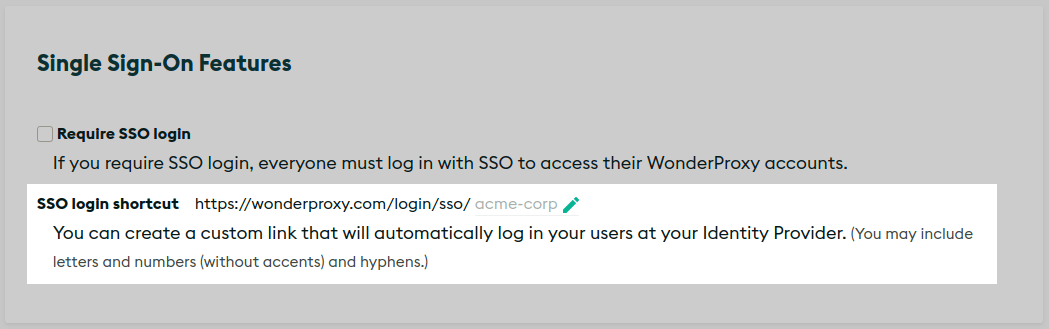
Set up a login shortcut (Optional)
Users can always login at the SSO login page. You can make logging in faster with a customizable link:
Configure Your Users
In a SAML-based SSO system, your Identity Provider assigns each user a NameID. The NameID could be an email address, a username, or anything that uniquely identifies each of your users. The NameID is how WonderProxy will connect your company users to their WonderProxy accounts.
There are two ways you can set up that connection:
- Automatically link your company users to their WonderProxy user accounts by email address
- Manually assign NameIDs to your WonderProxy user accounts
Automatically link your users
- Configure your Identity Provider to use email addresses as the NameID.
- Use the same email addresses in your WonderProxy user accounts.
When a user logs in with SSO, WonderProxy will match their NameID to their email address. If they have an active WonderProxy account, they will be logged in.
Manually link your users
If you can't use an email address as the NameID, or you can't use the same email address for your WonderProxy user accounts, you can manually configure each user's NameID.
New user
When you create a new user, enter the user's NameID in the Add User form:

Existing user
Visit your SSO settings again and find the User Identification section at the bottom. Enter the user's NameID:

Batch updates for multiple users
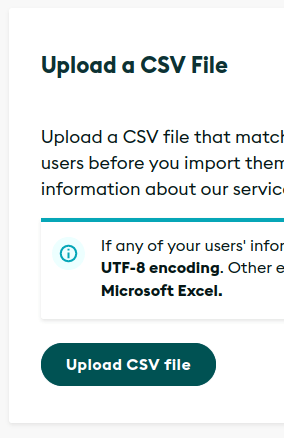
If you need to add multiple NameIDs, you can import a CSV file to create or update more than one user at a time.