iOS
Configure your iOS device to use WonderProxy’s VPN
Automatic setup using a configuration profile
-
Sign into your WonderProxy account using Safari
Other browsers lack the necessary system integration to download configuration profiles - Navigate to Account » VPN » IKEv2
- Generate a passphrase if you haven’t got one already
-
Press the download configuration button
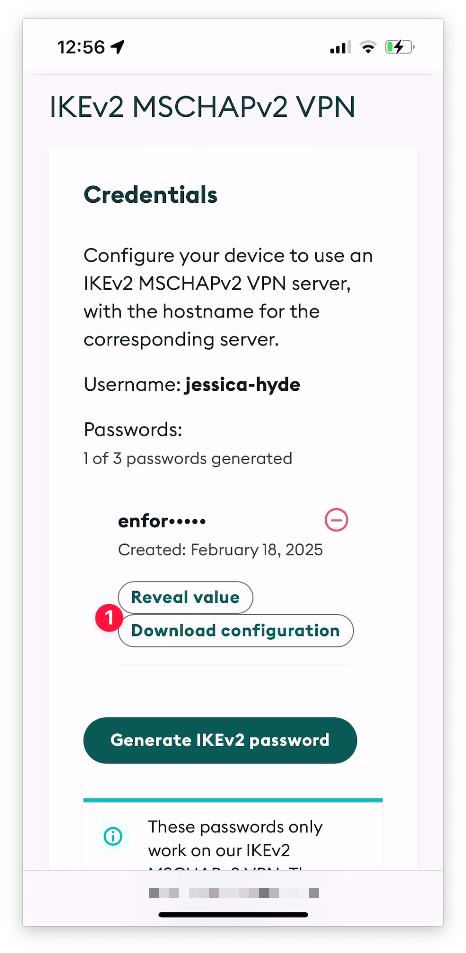
-
Navigate to the Settings app. You’ll notice a Profile downloaded section at the top. Use it.
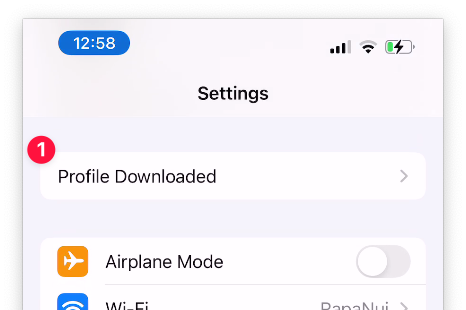
-
Under More Details, it should list all the servers supporting a VPN connection added to your WonderProxy account. Press Install and follow the instructions.
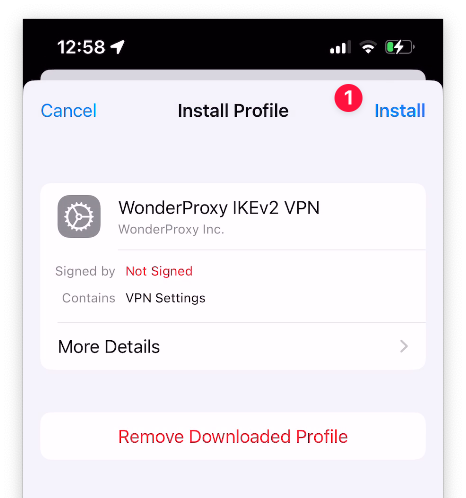
-
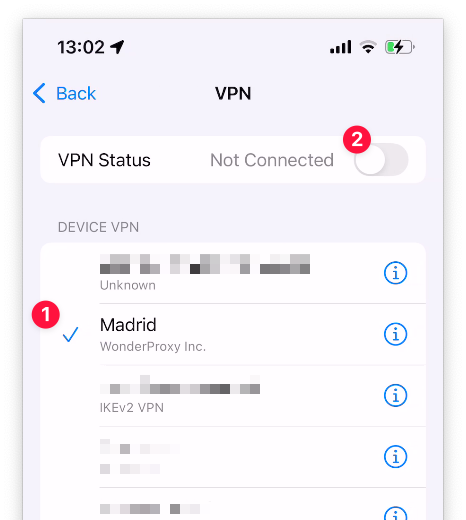
Now you can navigate to the VPN section to select one of the WonderProxy locations and toggle the switch at the top of the page to connect to VPN.
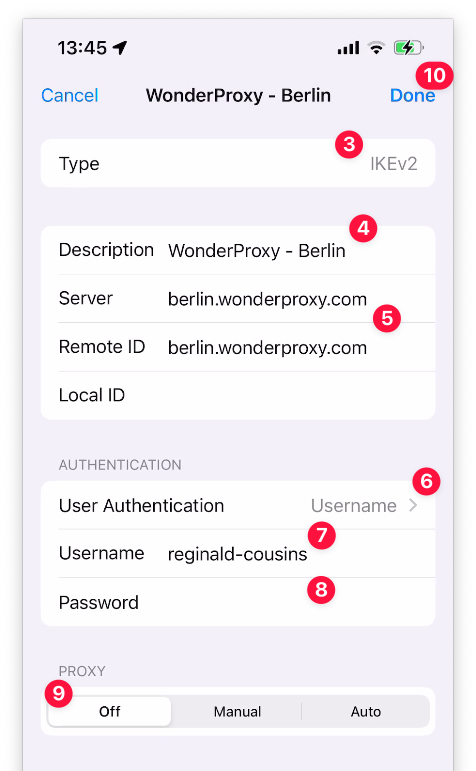
iOS 18 IKEv2 Configuration
- Use Settings app to navigate to General » VPN & Device management » VPN
- Press Add VPN Configuration…
- Make sure the default type IKEv2 is selected
- Enter the description, consider “WonderProxy - <location>”
- Use <location>.wonderproxy.com as both the server and Remote ID.
- Make sure Username is selected as the user authentication method
- Enter your WonderProxy username
- And a generated passphrase
-
Do not enable additional proxy settings, keep the toggle in “Off” position
-
Press Done at the top to finish
-
Now you can connect by selecting the WonderProxy location from the list and toggling the switch at the top of the page
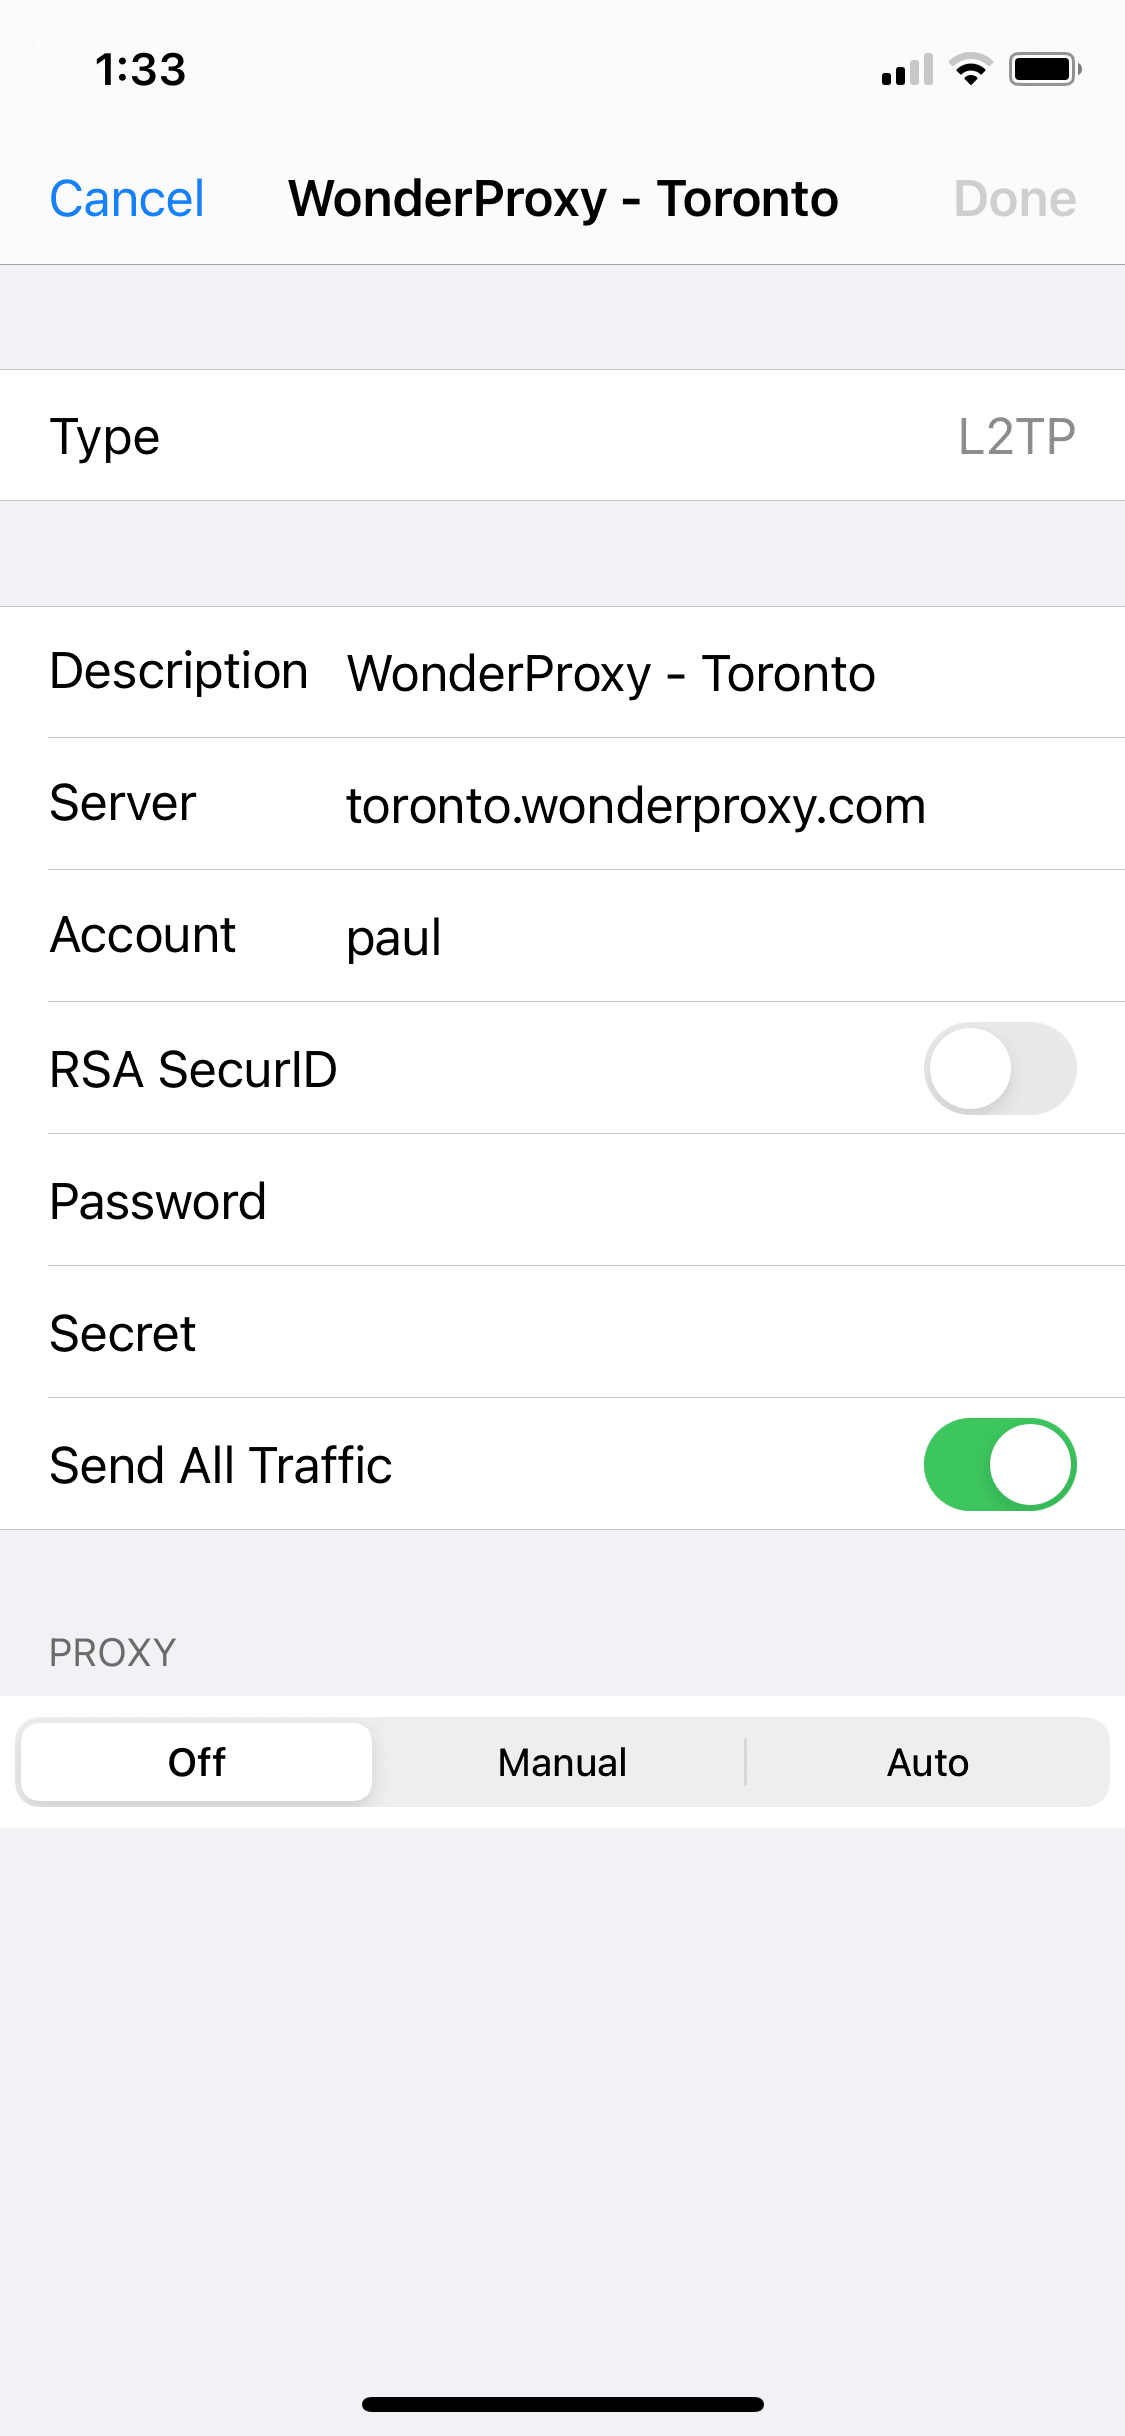
iOS 14.4 IKEv1 Configuration
- Open up Settings
- Select General
- Select VPN, then Add VPN Configuration
- For Type, select L2TP
- For Description, enter WonderProxy
-
For Server, type the server address
(e.g.
toronto.wonderproxy.com) - In Account, enter your WonderProxy username
- In Password, enter your proxy token, or leave it blank if you want it to prompt you every time you try to connect
- In Secret, enter: (you must be logged in as a proxy user to view the shared secret) (we found copy-pasting it in was much easier than trying to type it)
- Make sure that Send All Traffic is enabled