Windows
Configure your system to use WonderProxy’s VPN
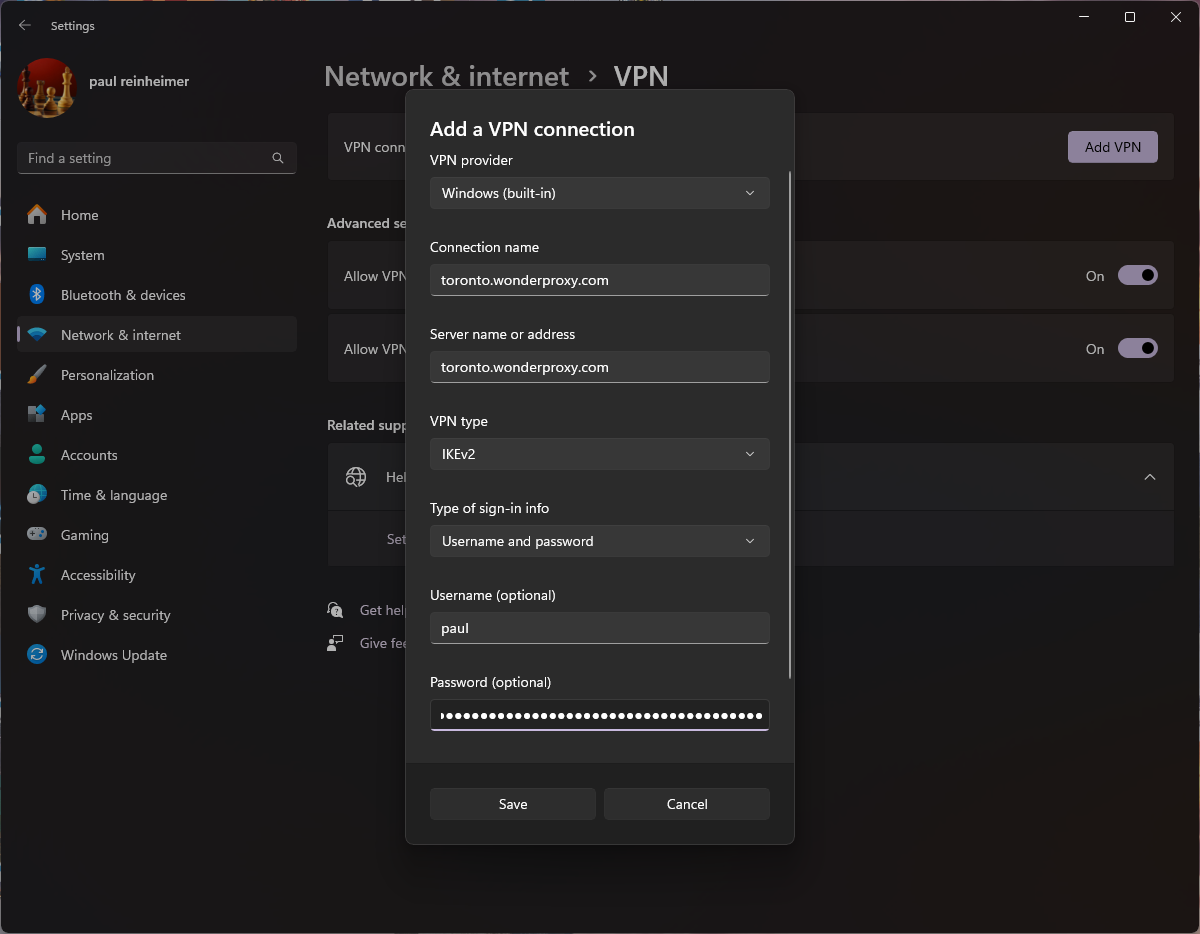
Windows 11 VPN Configuration
- In the search box enter Settings, select the Settings application
- Select Network & Internet
- Select VPN
- Click Add VPN
- Enter Connection Name, consider “WonderProxy - <location>”
- Enter the Server address in the form <location>.wonderproxy.com
- For “VPN type” select IKEv2
- For “Type of sign-in info” select Username and password
- Use your WonderProxy username and a generated passphrase
-
Hit Save to finish the process
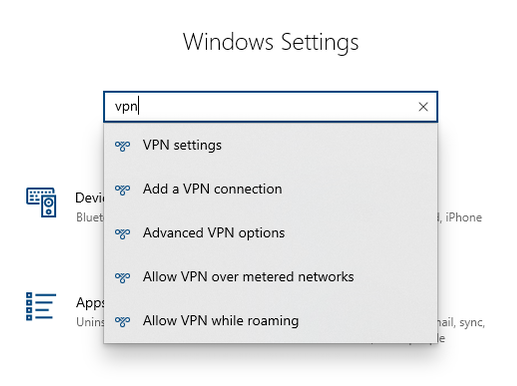
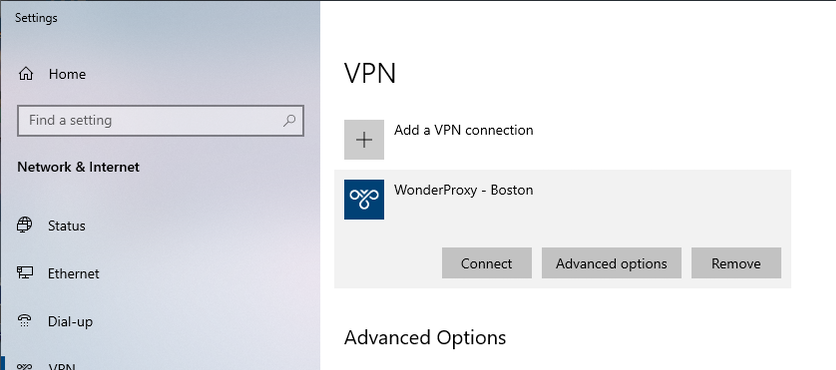
Windows 10 IKEv2 VPN Configuration
-
Open Settings app and type VPN into the search box
-
Select Add VPN Connection
-
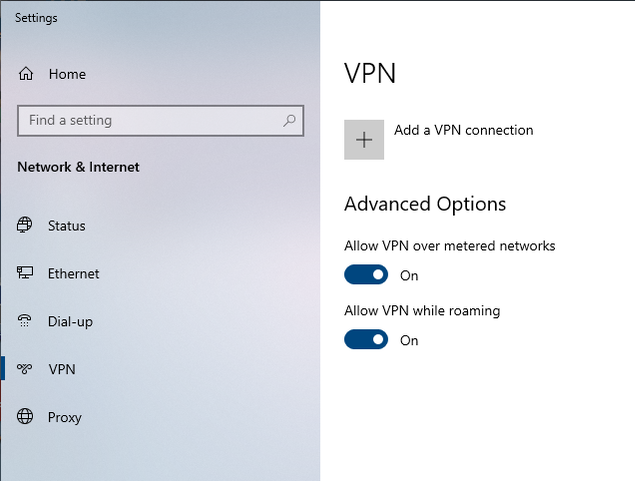
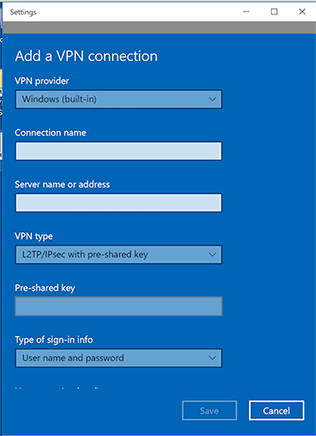
Click Add a VPN connection
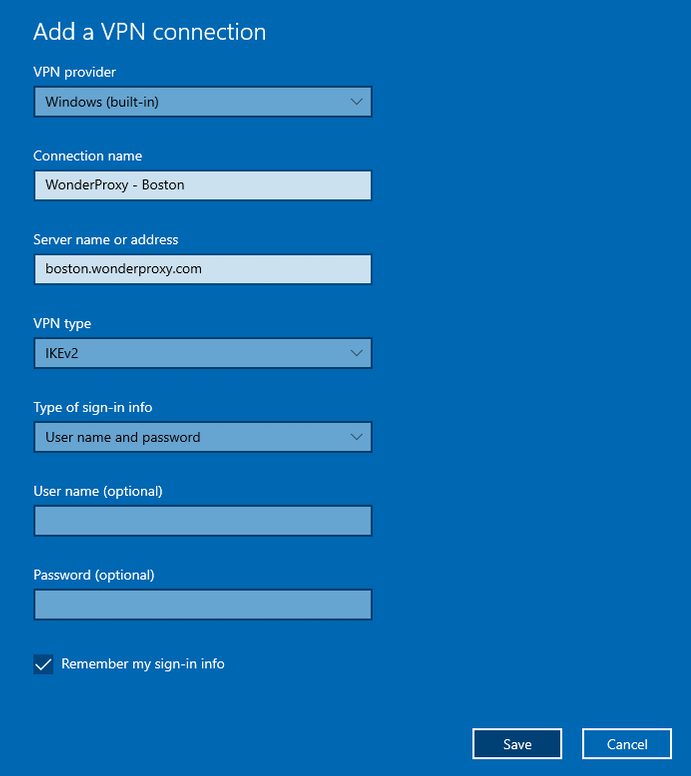
- VPN Provider: Windows (Built in)
- Connection Name: WonderProxy Boston
- Server name or address: boston.wonderproxy.com
- VPN Type: IKEv2
- Type of sign-in info: Username & Password
- Username: your WonderProxy username
- Password: a generated passphrase
-
Click Save
-
Select the connection and click connect!
Windows 10 IKEv1 VPN Configuration
- Enter VPN into the cortana search box
- Select Change Virtual Private Networks (VPN)
- Select Add a VPN connection
- VPN Provider: Windows (Built in)
- Connection Name: WonderProxy London
- Server name or address: london.wonderproxy.com
- VPN Type: L2TP/IPSec with preshared key
- Pre-Shared key:
(you must be logged in as a proxy user to view the shared secret) - Type of sign-in info: Username & Password
- Username: your WonderProxy username
- Password: your WonderProxy proxy token
- Click Save
- Under Related Settings select Change Adapter Options
- Right click on VPN Connection select Properties
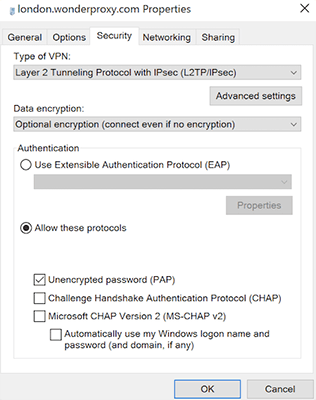
- Select Security tab
- Select Allow these protocols radio option
- Check Unencrypted Password (PAP)
- Select Okay