Transitioning Global Ping Statistics from jQuery to React
The Global Pings Statistics data is generated with Unix command line tool ping, executing pings from each of the WonderNetwork servers. As WonderProxy's first full-time front-end developer (yahoo!) I was tasked recently with updating the UI that showcases our ping data. I sought to improve the UI while also learning a new and exciting front-end framework.
Here's what I started with:
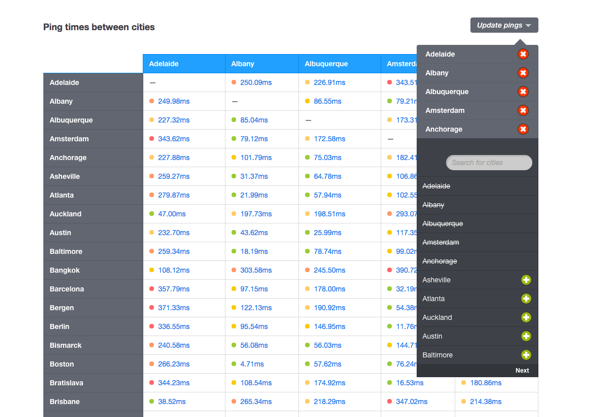
Original Global Ping Statistics Table & City Selector
Functional, overall - however, here were some UX issues the team noted:
-
There was way too much information on the screen (215 rows vertically), since you could add or remove columns but not rows
-
Scrolling down 215 rows of data meant that you would lose context of the destination server names at the top of the page, thereby losing the server-to-server relationship
-
The add/remove server widget became difficult to use if many servers were selected
Process
After defining our main gripes with the existing design, I spent some time researching our target market for this data as well as noodling around with design alternatives.
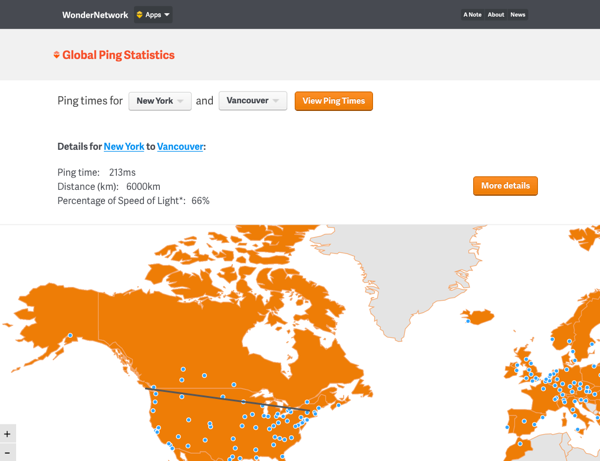
Designing alternative methods of displaying ping statistics data
Ultimately after a bit of user testing (i.e. asking friends who would listen), I felt that the table was the most straightforward way of representing a large quantity of data at once while allowing users to interact with it intuitively.
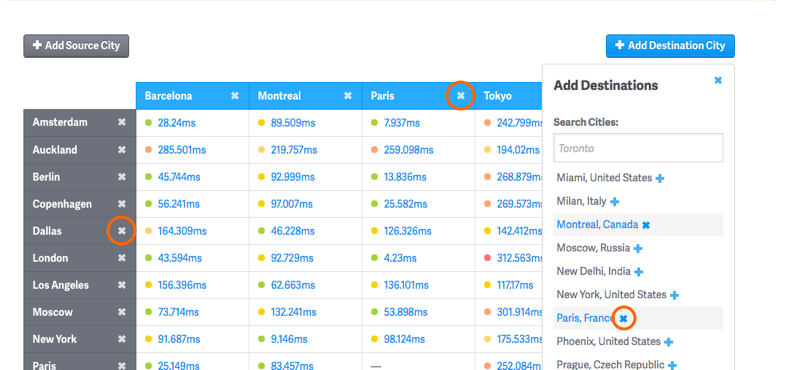
My objective with the new design was to allow the user to customize the table as much as possible (both vertically and horizontally), while fitting the new coded logic into the ReactJS pattern.
Getting Started with React
As soon as I started to understand the architecture of a React UI I instantly liked it. Anyone who's futzed around with jQuery DOM manipulation knows that it can be a somewhat messy process. What's nice about React is all you have to worry about is the data you're sending through to your React App, and then your UI will react and change accordingly.
For the Global Pings Statistics page, I used the following hierarchy for the component structure:
- PingContainer Component
- CityList Component (Sources)
- FilterList Component
- CityList Component (Destinations)
- FilterList Component
- PingTable Component
- PingTableHeader Component
- PingTableData Component
- CityList Component (Sources)
Setting State with Live Data
Sending your data through the parent component and then feeding that data to the children components is the way to go when it comes to React. What results is the maintenance of one source of truth for your application data.
First, I set up my Ajax request to pull in the ping stats data within the PingContainer component. Once the Ajax call is successful, I capture the ping data in a state variable:
this.setState({
    pings: pingData,
});
I can then pass the pings captured in the app's state to my Ping Table component:
<PingTable
     pings={this.state.pings}
/>
This allows the PingTable component to render my live data on the fly. If the state is updated, the data flowing to my components is instantly changed and the UI updates reactively. In the table, I am looping through the data to display the PingTableData components within the table.
Updating Data via Child Components
Every time a user interacts with the table via the CityList components or the TableData components, another Ajax request is sent to the Ping Container, and re-initializes this.state.pings.
Triggers in child components that update the UI
Within these child components, we assign onClick event handlers:
<a href="#" onClick={this.removeDestination}>x</a>
and within that child component a corresponding function,
removeDestination: function() {
    this.props.handleRemoval();
}
and the reference to this function on the reference to the child component itself:
<TableHeader handleRemoval={this.removeDestination} />
Which is then passed once again to the PingContainer, so that the Ajax call can run and update the data within the UI.
That's this jist of how this entire app works. A simple project, yet a perfect learning experience for getting to know React JS.
Some Gotchas
Using React’s Production Version
If you’re pulling in React via npm with a require/import declaration using Browserify or webpack, you’ll get the slower dev version off the bat. React will warn you in your console about this, so you can integrate process.env.NODE_ENV = "production" into your Grunt/gulp file in a way that makes sense for your build system.
With webpack you can slot it directly into your package.json webpack related scripts (as displayed below).
  "scripts": {
    "prod": "webpack -p --define process.env.NODE_ENV='\"production\"' ",
  }
Integration with Grunt & RequireJS
Integrating a React workflow into our existing RequireJS seemed like a project in itself - so I've saved that fun for a later date. For now I'm keeping all-things-react separate. I have however integrated a few handy tools (Browserify, Babelify) into our Gruntfile in order to watch and compile our .jsx files into the bundled & production-ready .js file.
Help Along the Way
I found DevSlopes’ React JS and Flux Web Development course on Udemy very helpful for breaking down initial steps, from NPM to Browserify and all the React bits. The official Facebook tutorials were, and remain a solid reference for passing state & props across React components.