Getting Started Using Jupyter Notebooks with Selenium and Ruby
What are Jupyter Notebooks
Jupyter Notebooks are web-based documents that blend together markdown, code that can be executed on the fly, as well as visual output of that execution.
These notebooks have gained immense popularity in data science and academia. The code to manipulate data can live side by side with both the resulting visualization and an explanation for how it should be interpreted. To make it even more powerful, code is editable and executable in real time by the viewer, so the full story of the code can come to life right in front of their eyes.
Multi-Language Support
Jupyter runs on Python but don't let that deter you. It supports over 40 different languages including JavaScript, Ruby, Java, and C#. Language support is provided through a concept called kernels which enables the Jupyter user interface to hand off the code execution to language-specific engines.
Each notebook targets a specific language kernel, allowing users to utilize the language that best fits their needs. Inside each notebook is a series of cells that act as containers for either code or markdown.
Why Test with Jupyter?
This all sounds very interesting and all, but why use a tool for data scientists and academics for software testing?
As test automation efforts on teams grow and mature, the automation frameworks that get built tend to optimize for the headless execution of tests. It makes sense: it's faster and less intrusive to run tests without having the application popup into view and take over your machine as it runs through the system under test.
When you write a test though, your needs are different and sometimes at odds with this focus on isolated, invisible testing. Developing a test is a visually intensive process to see how the actions and selectors you are using are actually working. Test authoring requires you to step through the workflow and sometimes repeatedly try just a few lines of a test multiple times. Mistakes or the fun nuances in products you find when attempting to automate them mean you need different selectors, a different wait strategy, or any number of other things that result in needing to re-execute the test.
In traditional test authoring you would re-run the test, maybe with the debugger and a few breakpoints set. You wait for any test data setup to complete, spin up the browser and then wait for your test to get to the lines you need to work on. Even if this is fairly fast, it still breaks up your feedback loop.
Using Jupyter, the cells inside a notebook can be added or edited in real time while you are automating. Your feedback loop is lightning fast because the browser can remain open and visible while you work.
That fast feedback loop enables a very TDD-esque workflow. Write only the lines of code you need to get started. Execute that code, view the result. If there was an issue, you can see it immediately and fix it. If it was successful, write the minimum code for the next step of the test in the next cell.
Once you have a working test, you can start to refactor the code inside the notebook, consolidating multiple cells into a single cell representing an action or behavior. Once that action is encapsulated it can even be further refactored into an external file for reuse.
Setup
Prerequisites
The Jupyter team recommends installing Python using Ananconda. Anaconda automatically includes Jupyter and many of the popular data science packages.
For this guide you will also need to have Ruby, Chrome Webdriver and Git installed.
- Clone the Getting Started Repository.
- Open a command window and navigate to the repository folder and execute
jupyter notebook --NotebookApp.token=''. This will start the Jupyter server locally with authentication disabled and open the notebook dashboard in a browser window.
Using Notebooks
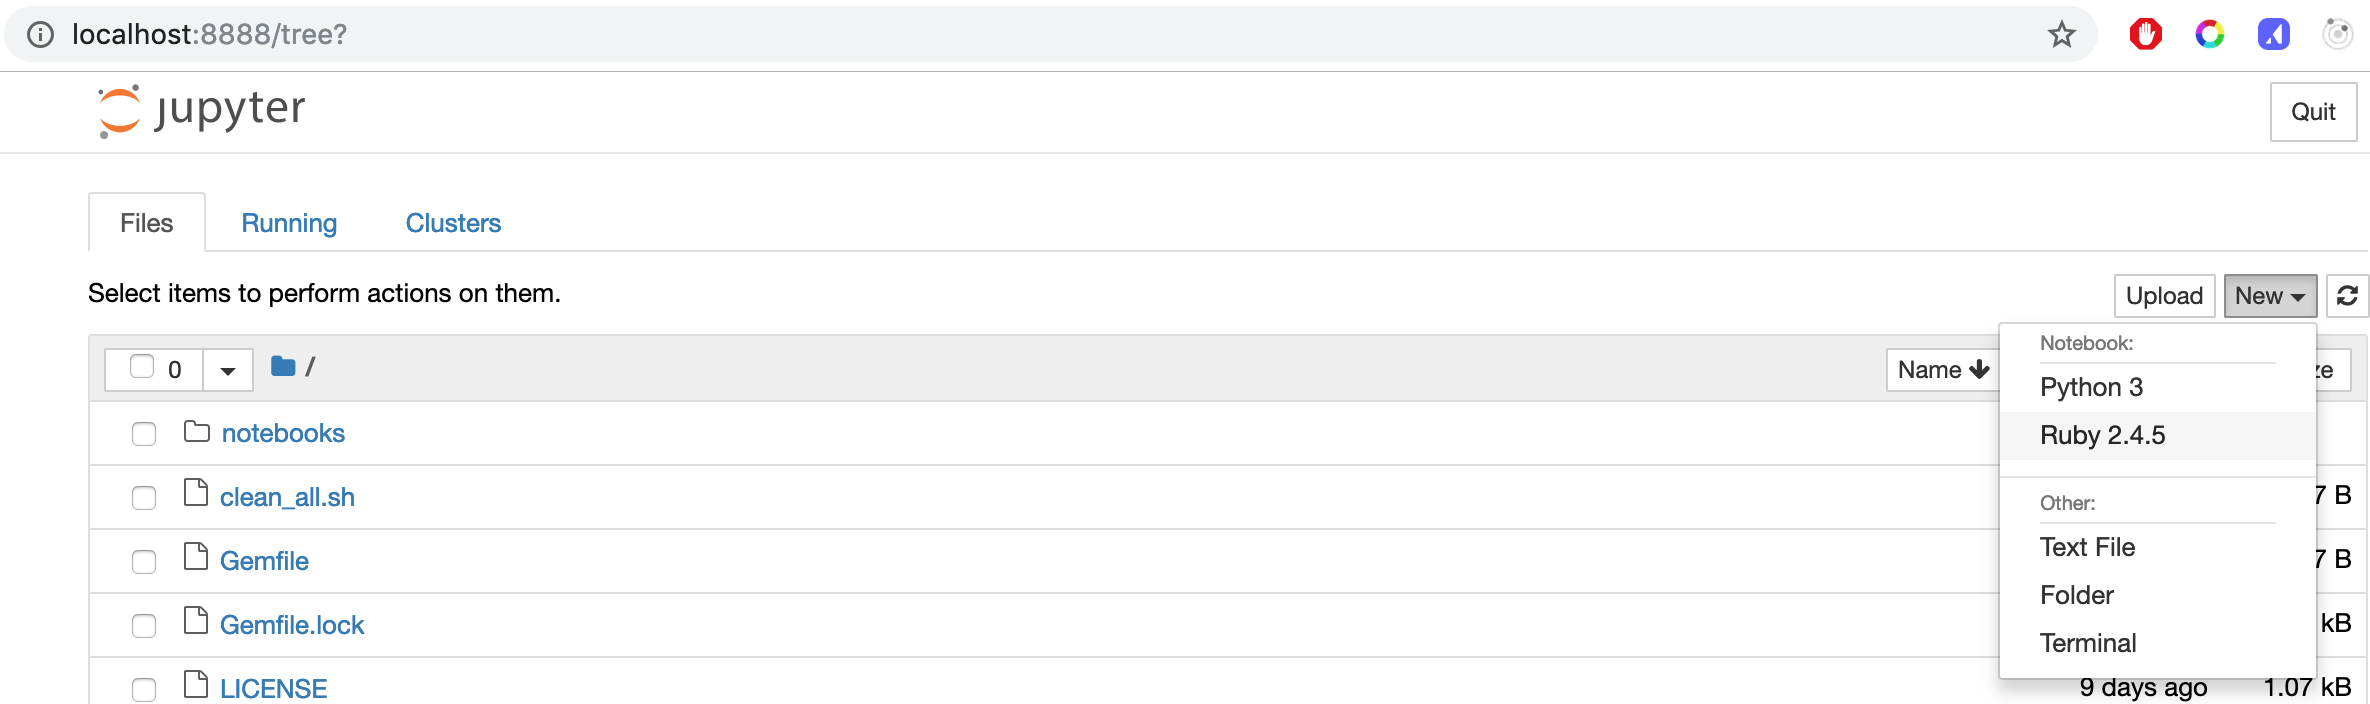
Before we can start using Ruby in notebooks, we first need to install the Ruby kernel. We will use the Setup.ipynb notebook to install the kernel.
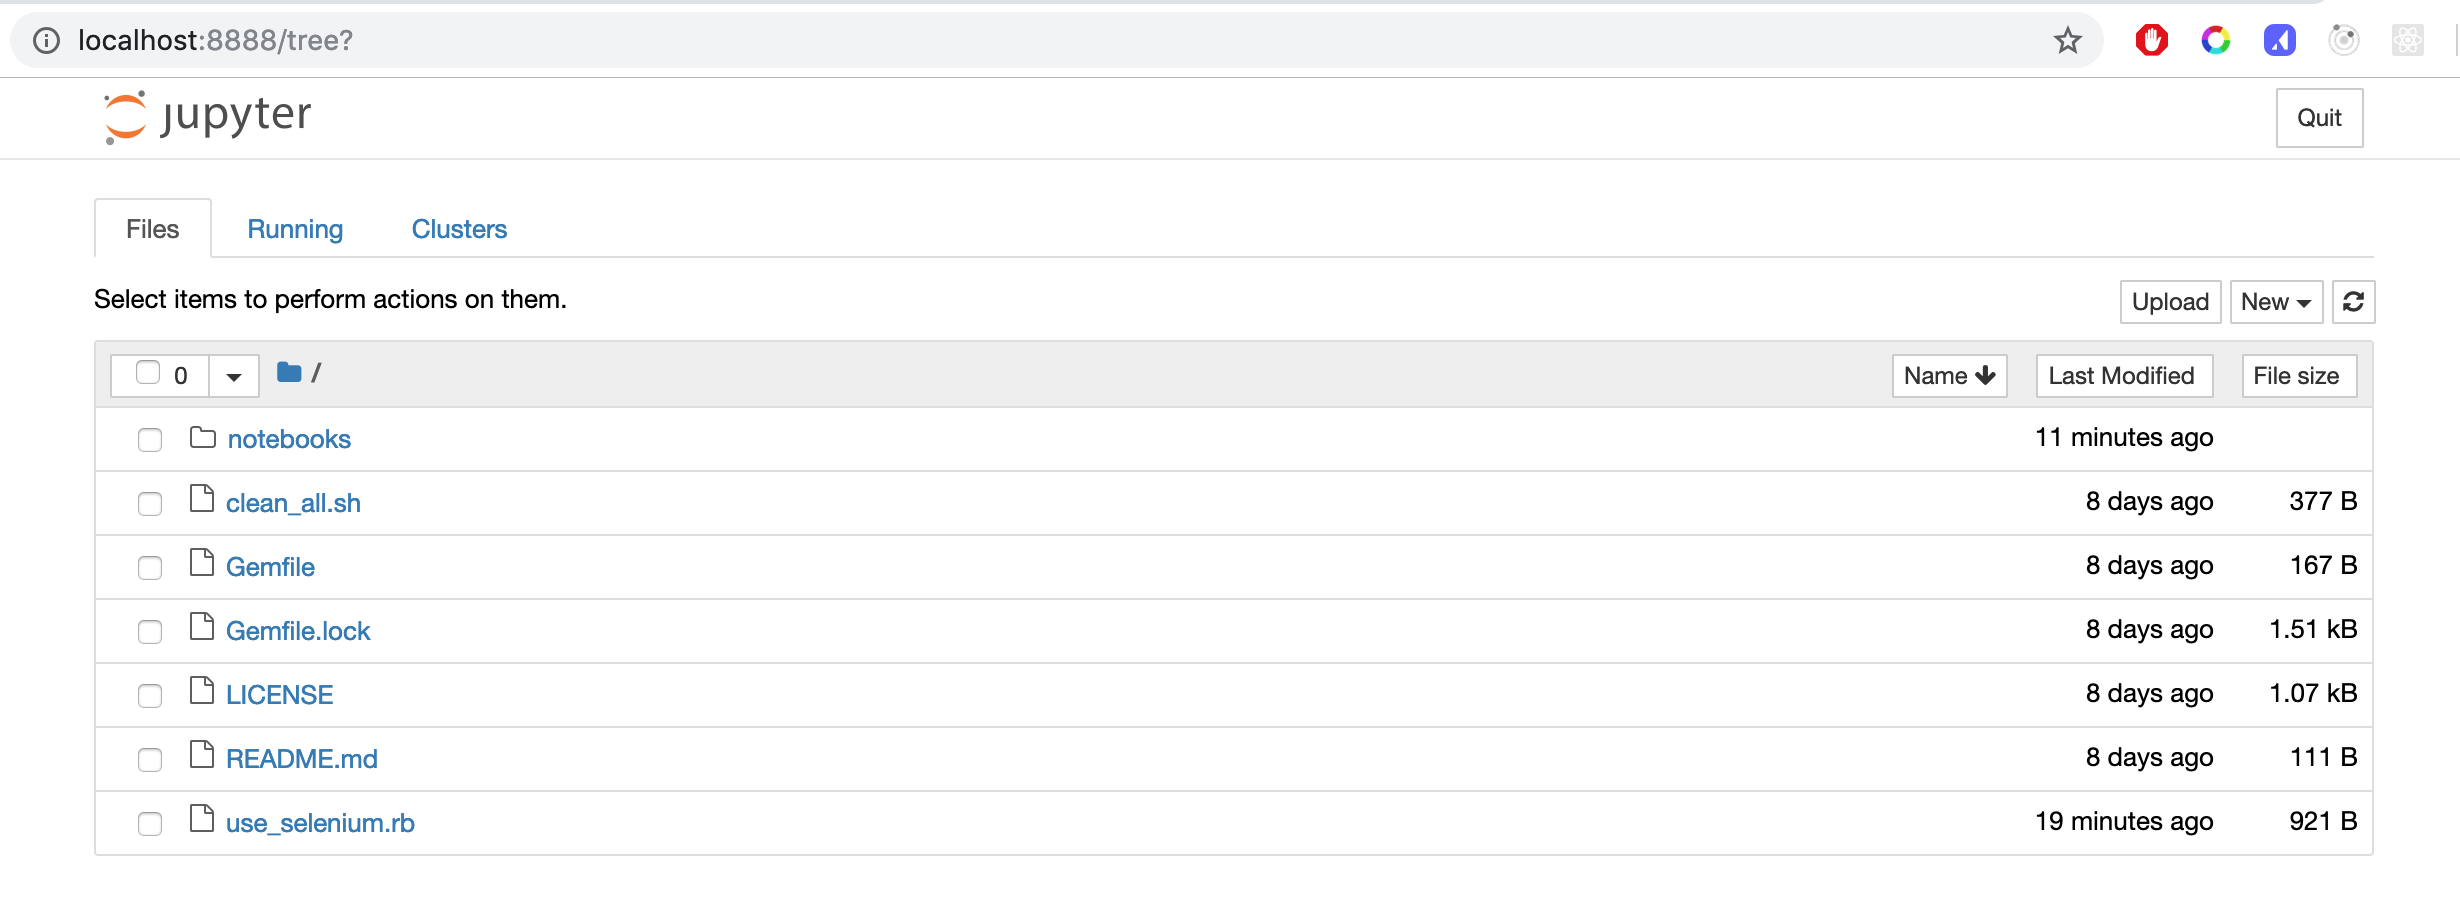
All notebook files in the repository are located in the notebooks folder. To open a notebook click on the notebooks folder in the Jupyter dashboard.
Click on the Setup notebook file.

The notebook will open.
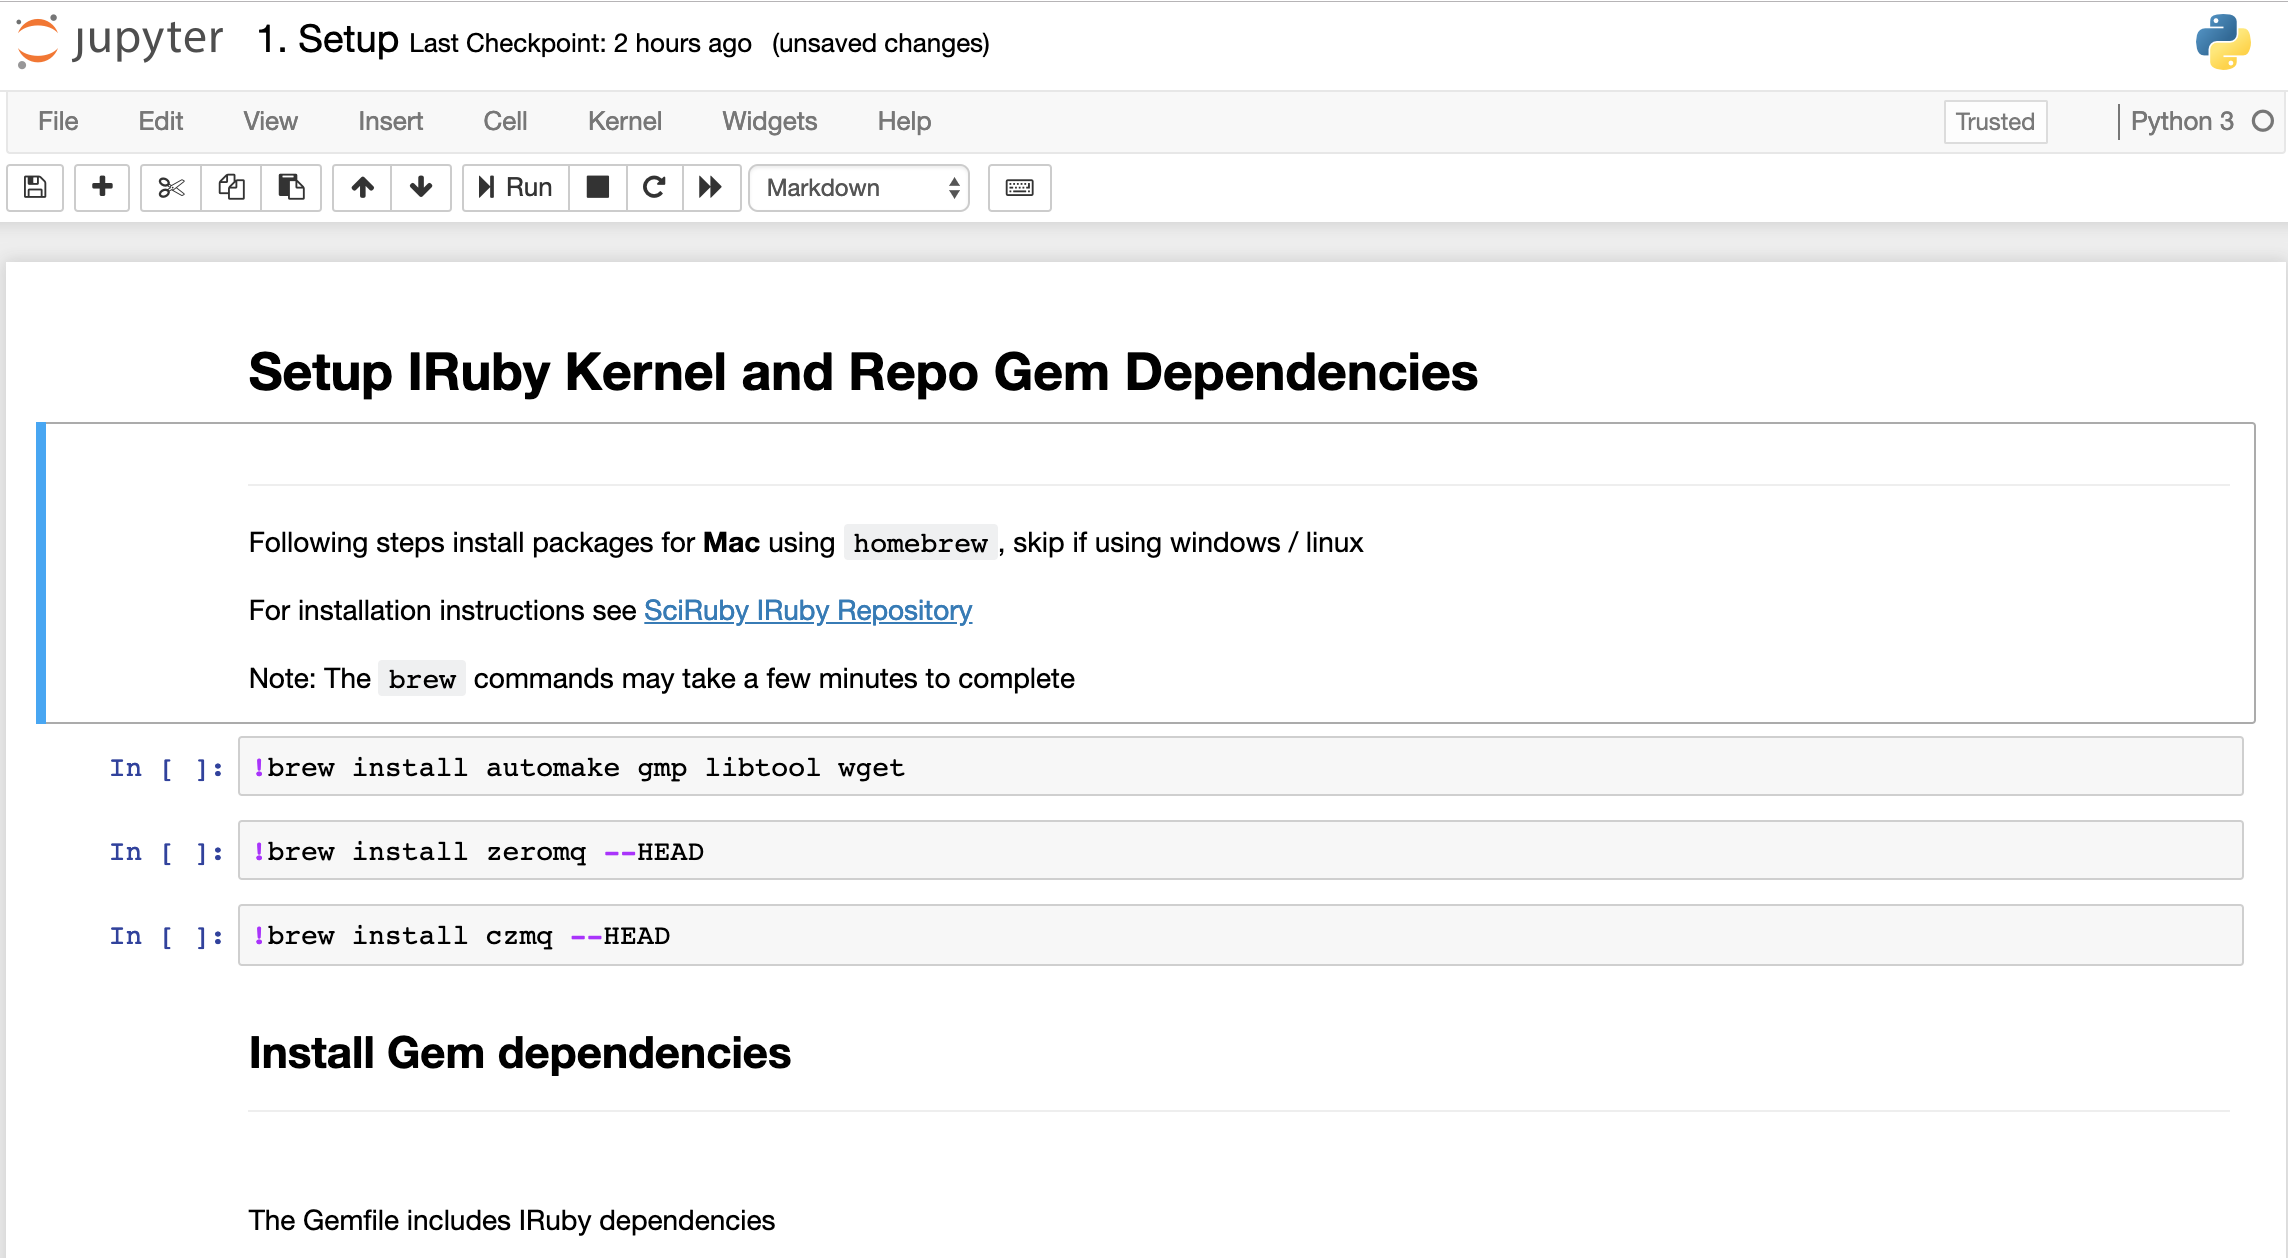
To execute the commands in the highlighted cell, click the run button:

or press ctrl+enter or shift+enter to execute and select the next cell when the command is completed.
While a code cell is executing it will show as In [*], and update to In [<count>] when it has completed. The result of each command will also be displayed below the cell.
After running all commands in the notebook the IRuby kernel will be installed. Click the link in the last cell to open the Using Selenium Notebook.

Using Selenium
Notice that the logo and language version in the upper right corner of the notebook are now Ruby!

To control the browser we will be using Selenium with Capybara. Capybara wraps webdriver commands in a friendly DSL and adds intelligent waiting to help make tests more reliable. The first step is to require those packages in the notebook.

Next we wire up Capybara to use Chrome webdriver, so we will have a session we can use later in the notebook.

Then it's just a matter of using a visit command. Capybara will launch a Chrome instance and load the url.

If you prefer to use the Capybara DSL we add include Capybara::DSL to a cell in the notebook. This will log a warning to the cell's output, but it is nothing to be concerned about. (It only appears because we are using the include statement outside of a module or class.)

At this point you, can use Capybara and Selenium commands just like you normally would while automating. Click the + icon to add a cell, and use the arrow icons to change the order of cells.
Variables and Output
In the examples above you may have noticed that the page object is created in one cell then used in subsequent cells, and there is some logging of results.
In many ways a running notebook behaves the way executing commands in a irb console session would:
- Console output will be included in the output of a cell, as well as the result of the last statement executed inside the cell.
- Variables created in one cell, once it is executed, are available for use in all other cells. While there is an order when you create cells, you can run cells multiple times or in a different order.
Clean Up
Since the browser is visible it can be tempting to close it manually. Even if you are still writing or using a notebook, just out of habit you might close the browser. This will result in error messages because Capybara and Selenium still hold a reference to the old driver instance.
If this occurs you will need to use the refresh button in the Jupyter UI to restart the IRuby kernel and rerun the cells.
To help manage this it can be helpful to end each notebook with a cell to clean up and exit the browser using page.driver.quit.
Composing and Refactoring
Working in Jupyter is different than working in an IDE. It allows active interaction with the code you are writing as you write it, in many ways acting as a friendly debugger. It can be helpful to start by keeping the amount of code in each cell small. If there are problems, make changes and rerun the cell. Once the action you are trying to perform is working, you can start to consolidate the code spread across multiple cells into a single cell that performs the desired action.
It's not required to write code this way, but it prevents the need for writing a big chunk of code, only to realize there is an issue somewhere and start trying to debug it. Even then, when you try to figure out where the problem is, it is helpful to decompose the code into multiple cells. Instead of trying to insert a breakpoint or add console log statements, you can leverage the fact that Jupyter allows you to control the flow of execution using cells much the way an IDE allows you to step through a debugger. Once the issue is resolved, the contents of the cells can be combined.
Refactoring
Code inside notebooks is still code and is going to need to be maintained. Once you find yourself copy-and-pasting the contents of cells into different notebooks, it may be time to consider extracting that code into a function contained in a separate Ruby file.
You can see a basic example in the Selenium Refactored notebook. The code to wire up Capybara with the Chrome driver has been moved into a file in the root of the repository. This model can be extended to begin building out page objects and ultimately a testing framework.
Creating Your Own
Now you have the basics down, create a new notebook and start exploring.
Navigate to the notebook dashboard.
Click New and select Ruby to create a new notebook.